Installation and Maintenance Manual Gymfloor
Installation and Maintenance Video
Installation and Maintenance Manual
Index:
1. GYMFLOOR RUBBER ROLL INSTALLATION
2. GYMFLOOR RUBBER ROLL MAINTENANCE
1. GYMFLOOR RUBBER ROLL INSTALLATION
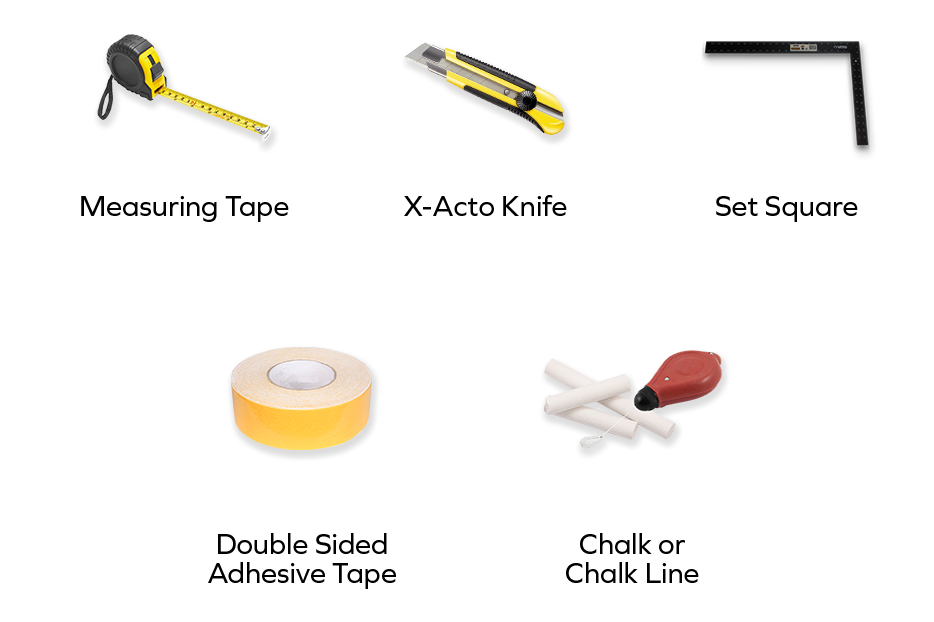
MATERIALS REQUIRED
1. Make sure the base is dry, clean and free from deformation.
2. If you have an underfloor heating system, turn it off before starting the installation.
For safety reasons, we don’t recommend switching it on again.
3. Unroll the flooring and leave it in the room where it will be installed for 24 hours so it adapts to the room temperature and returns to its flat shape. Tip: turn the upper surface of the roll facing down so that the ends don’t lift.
4. Before beginning, measure the area to be floored. Plan the installation carefully so you don’t waste material or end the rows with small portions of flooring.
5. Always leave a 10 mm space between the flooring and the wall or columns.
For outdoor installations, there must be a way to drain the water. We also recommend gluing the flooring for greater stability.
INSTALLATION
There are two possible systems for installing Gymfloor:
- Installation using double-sided adhesive tape – only possible indoors;
- Installation using glue – for indoor and outdoor installation.
INSTALLATION WITH DOUBLE-SIDED TAPE
INSTALLATION
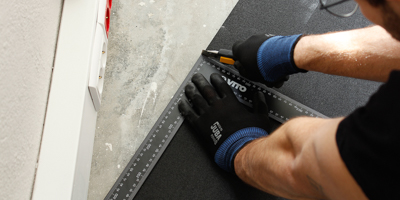
1 – Using the X-Acto knife, set square and chalk, make all the required cuts before beginning the installation.
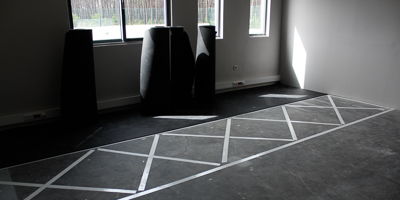
2 – Put the double-sided tape on the floor around the installation perimeter, creating a diamond. You’ll need 3 linear metres of double-sided tape for each square meter of rubber roll.
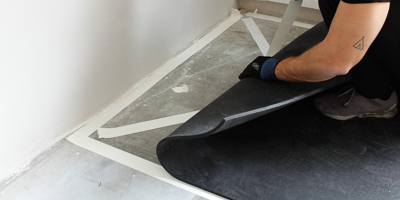
3 – As the roll is installed on the adhesive tape, remove the top part of the tape so the roll sticks to the floor.
4 – Repeat this step for subsequent flooring rolls. Don’t forget to piece the ends together properly so the joints aren’t visible.
Tip: to ensure the rollers are completely flush, overlay them slightly (about 1mm) and then force and then force them together with your hands.
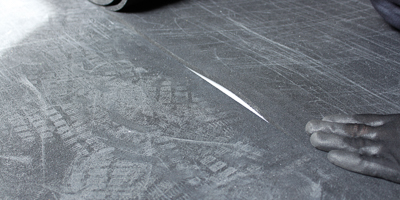
5 – Place heavy objects on the joints for 24 hours. This guarantees the flooring sticks to the adhesive tape.
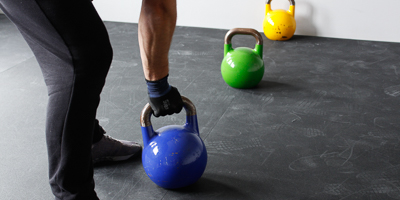
INSTALLATION WITH GLUE
In addition to the above materials, you’ll need:

GLUE PREPARATION
You need around 1kg of glue per m².
Glue has two components: resin and a catalyst. Mix them well and begin the installation immediately.
When ready, the glue can be used for 20 to 25 minutes. After, you can no longer use it for the installation.
Application should be done at a room temperature of between 15 and 25ºC and should never drop below 0ºC.
INSTALLATION
1 – Make all the required cuts before starting to install the flooring.
2 – Get the glue ready. Use a tool to manually mix the two glue components. Prepare small amounts of glue, as once ready, it must be used quickly.
3 – Use a notched trowel to spread the glue gradually, then place the Gymfloor on top.
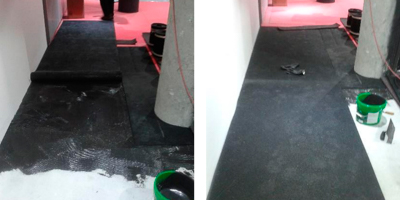
4 – Repeat this step for subsequent flooring rolls. Don’t forget to piece the ends together properly so the joints aren’t visible.
Tip: to ensure the rollers are completely flush, overlay them slightly (about 1mm) and then force them together with a few small taps.
5 – Then put weights on the joints to make sure the Gymfloor sticks properly.
SPECIFIC SITUATIONS
As the rubber flooring rolls are made from recycled tyres, slight curvatures or small imperfections may be visible.
For curved flooring rolls, first straighten the roll then cut it into 3 parts to remove the ripples resulting from straightening.
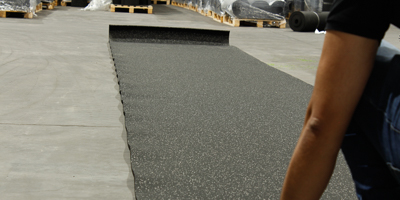
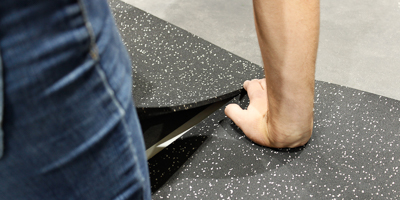
Then continue with installation as normal, following the steps above.
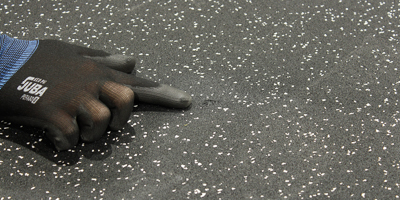
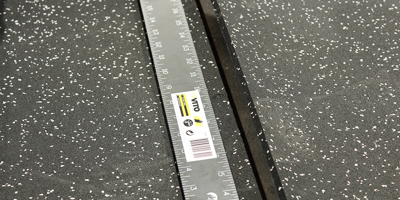
Remove any blemishes by cutting the flooring roll in that direction. Then continue with the installation as normal.
2. GYMFLOOR RUBBER ROLL MAINTENANCE
Flooring maintenance and cleaning are essential to ensure a longer life.
If glue has been used to stick the flooring down, wait 3 days before cleaning with water to allow optimal glue adhesion.
Use a vacuum cleaner to regularly clean any rubbish from the surface. This prevents wear and tear/damage to the flooring.
For greater hygiene, use a microfibre mop (e.g. a yellow strip mop) or scrubber with soft brushes together with pH-neutral detergents, which can be found in any supermarket.
Don’t use sponges, steel wool pads or bleach. These products may scratch and damage your flooring.