


Installation and Maintenace Manual Tatami
Installation and Maintenance Video
Installation and Maintenance Manual
Index:
1. TATAMI INSTALLATION
2. TATAMI MAINTENANCE
1. TATAMI INSTALLATION
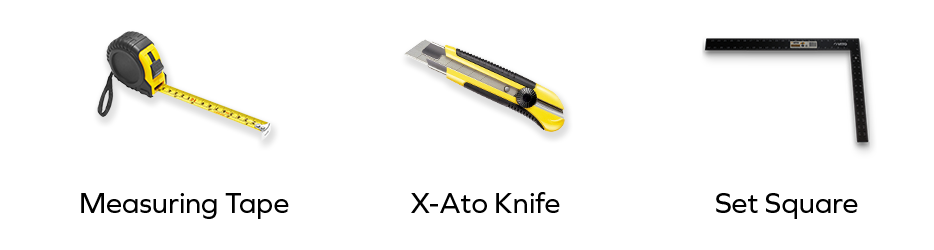
MATERIALS REQUIRED
INSTALLATION
1. Make sure the base is dry, clean and free from deformation.
2. Always keep the tiles horizontal so they don’t lose their shape, and leave them in the room where they will be installed for 24 hours so they adapt to the room temperature.
3. Before beginning, measure the area to be floored. Plan the installation carefully so you don’t waste material or end the rows with small portions of flooring.
4. During installation, don’t put heavy, sharp or cutting tools/objects on the flooring to avoid damaging it.
5. Remove the protective sides from the tiles as they are installed.
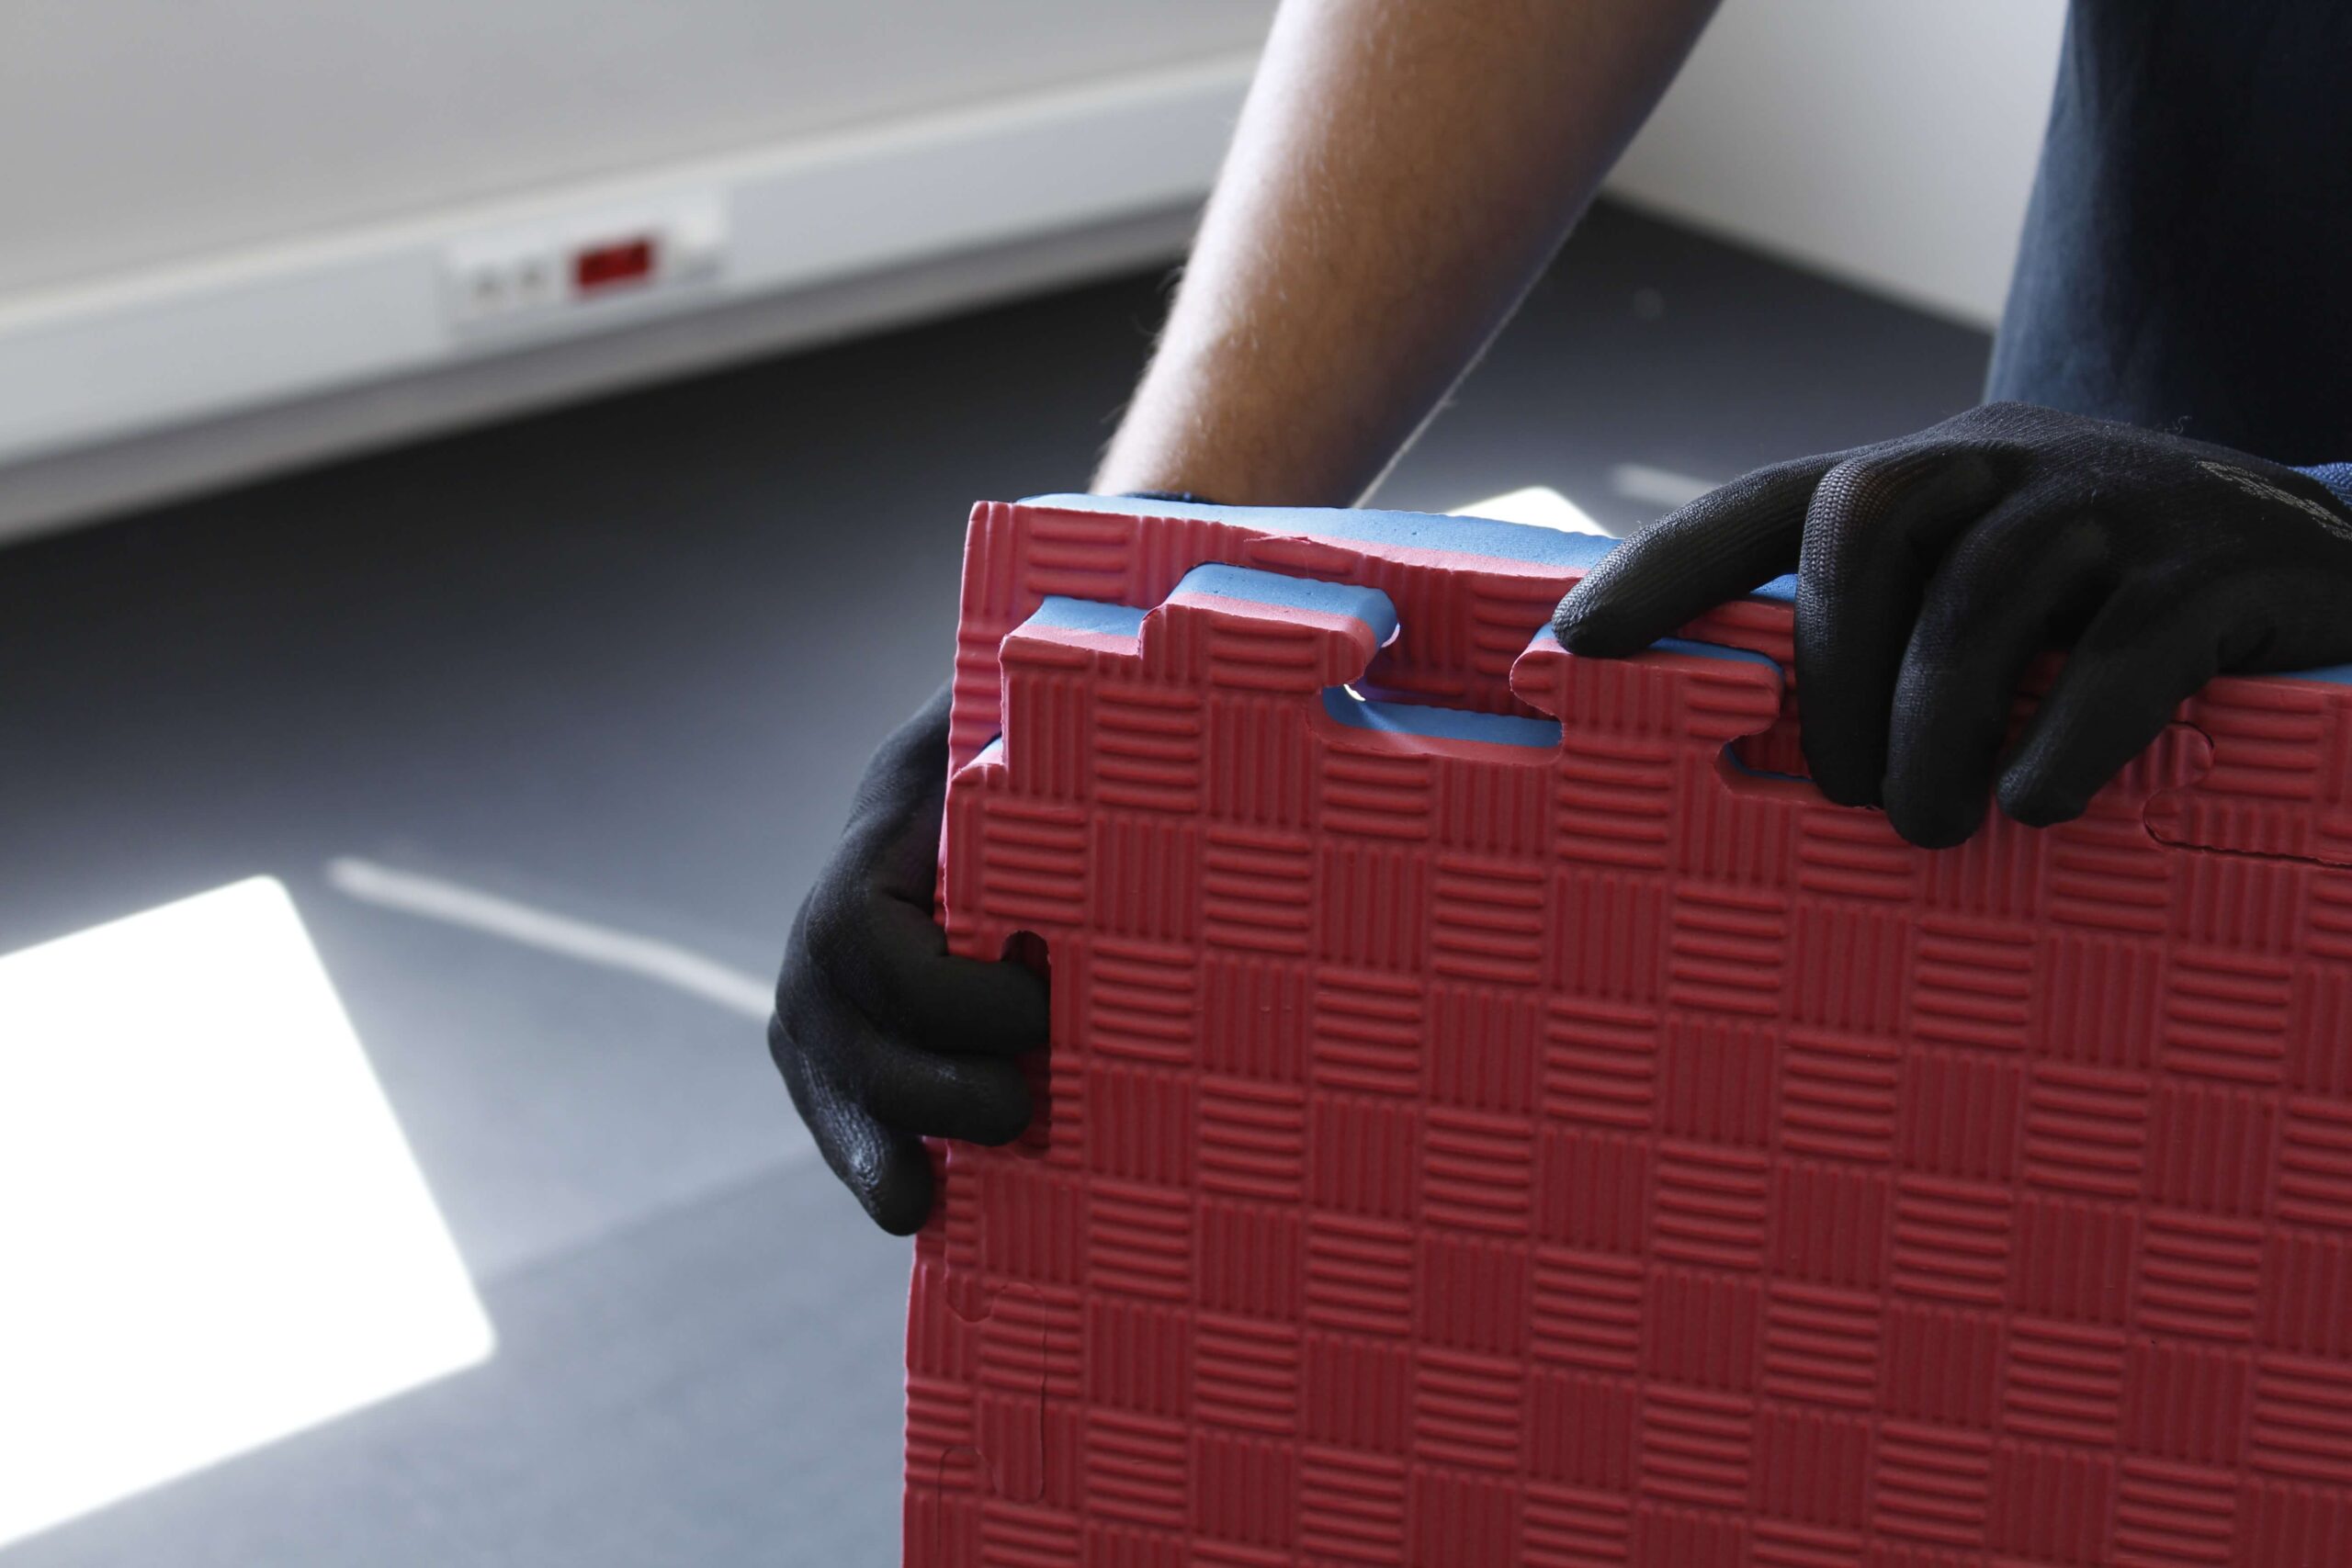
6. Piece the tiles together like a jigsaw, making any cuts required.
7. If there are structures in the area being floored, measure the exact size and location of the piece of tatami that must be removed. After removing it, make a perpendicular cut to create a new opening to piece the tiles together.
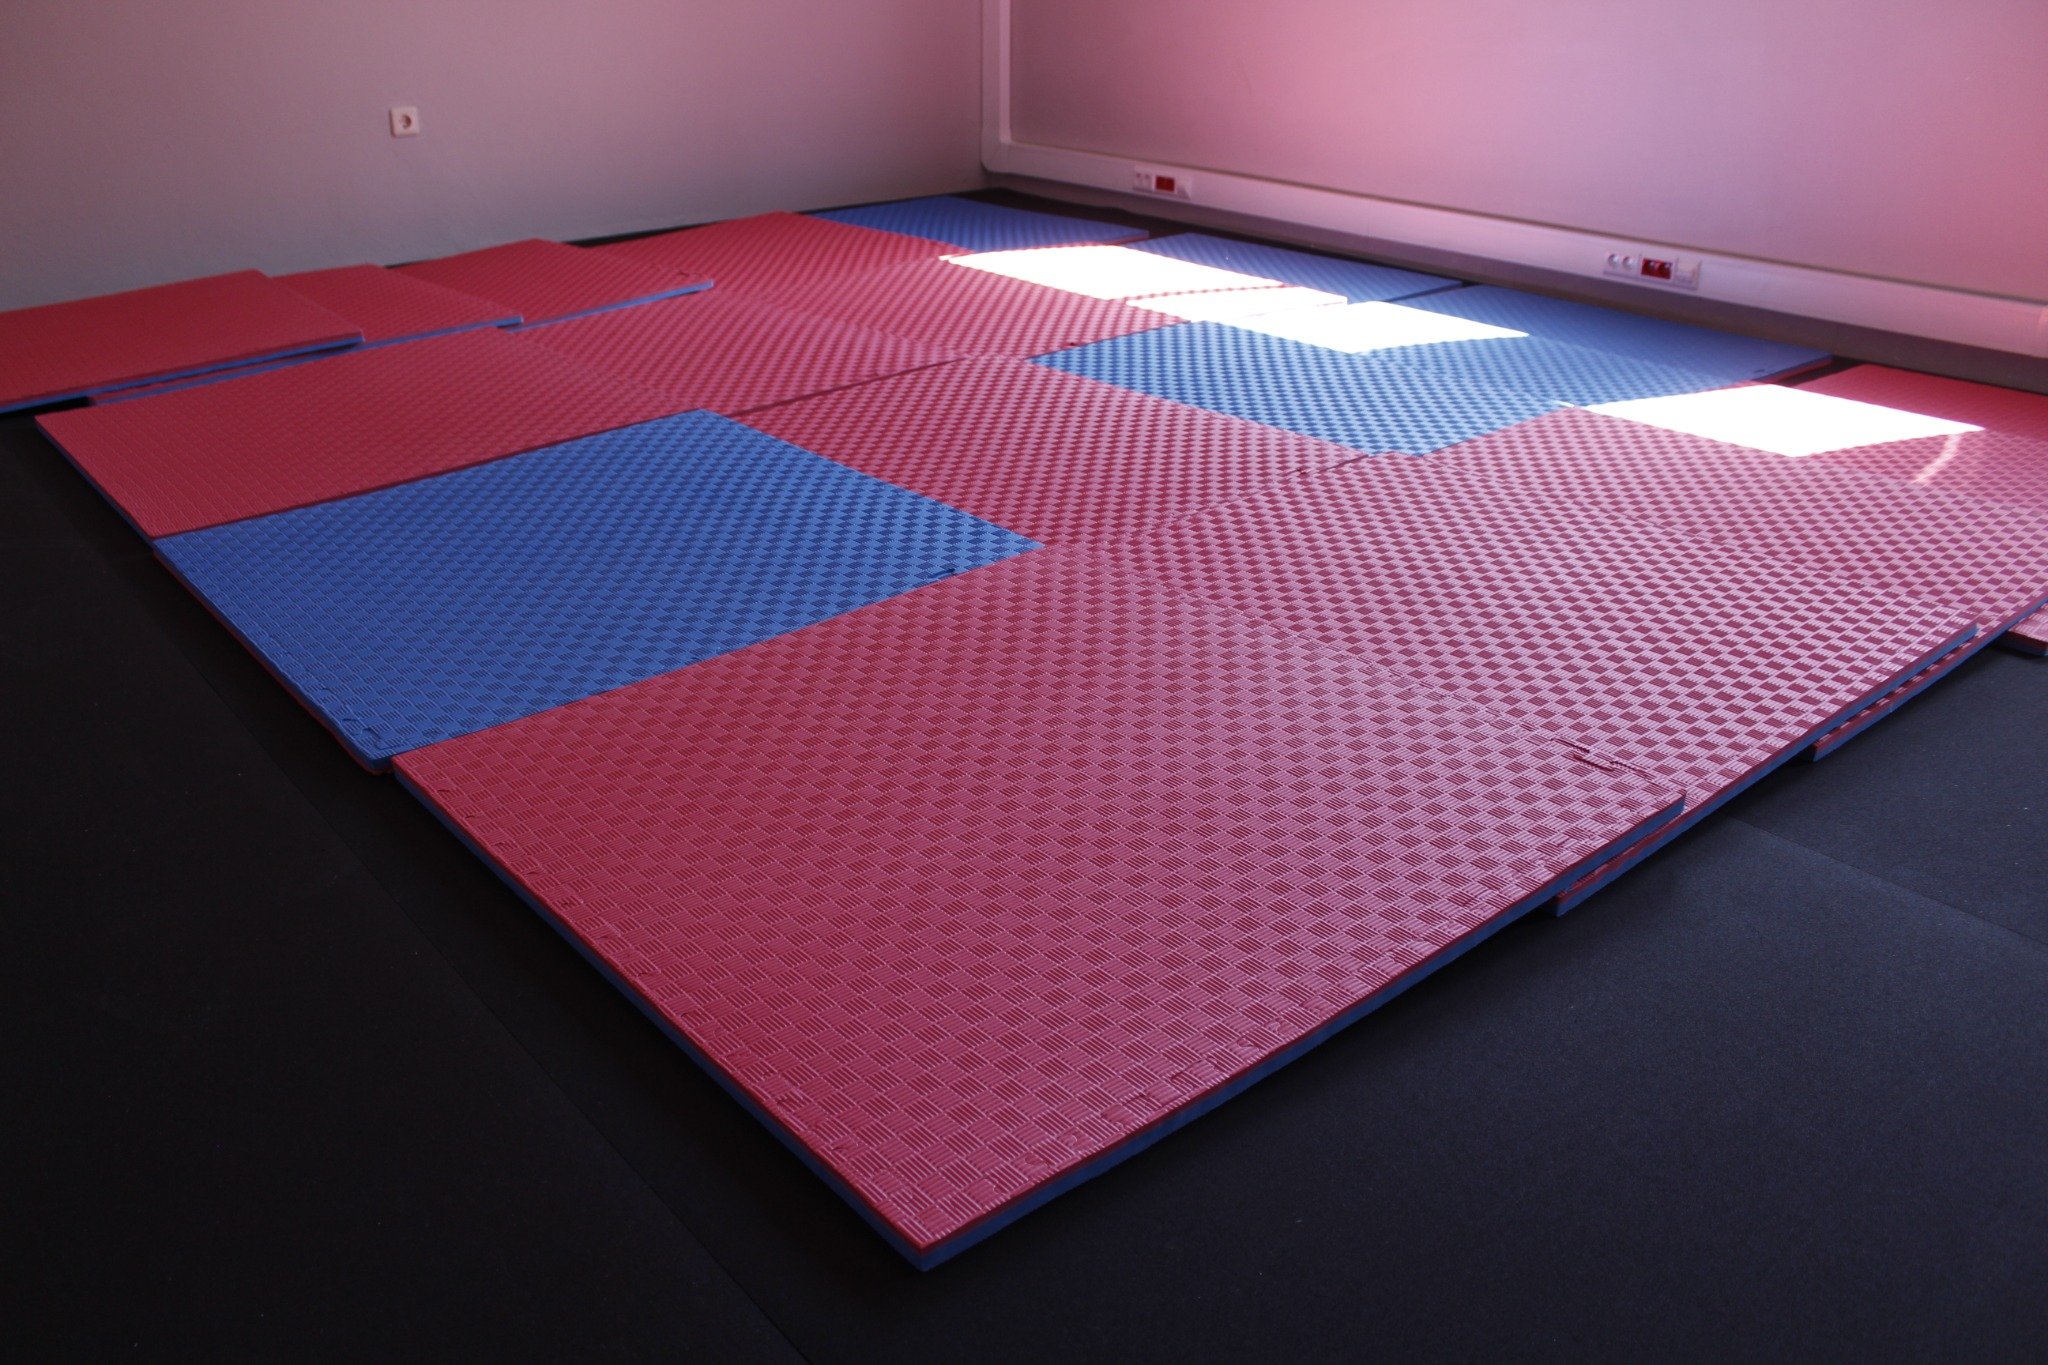
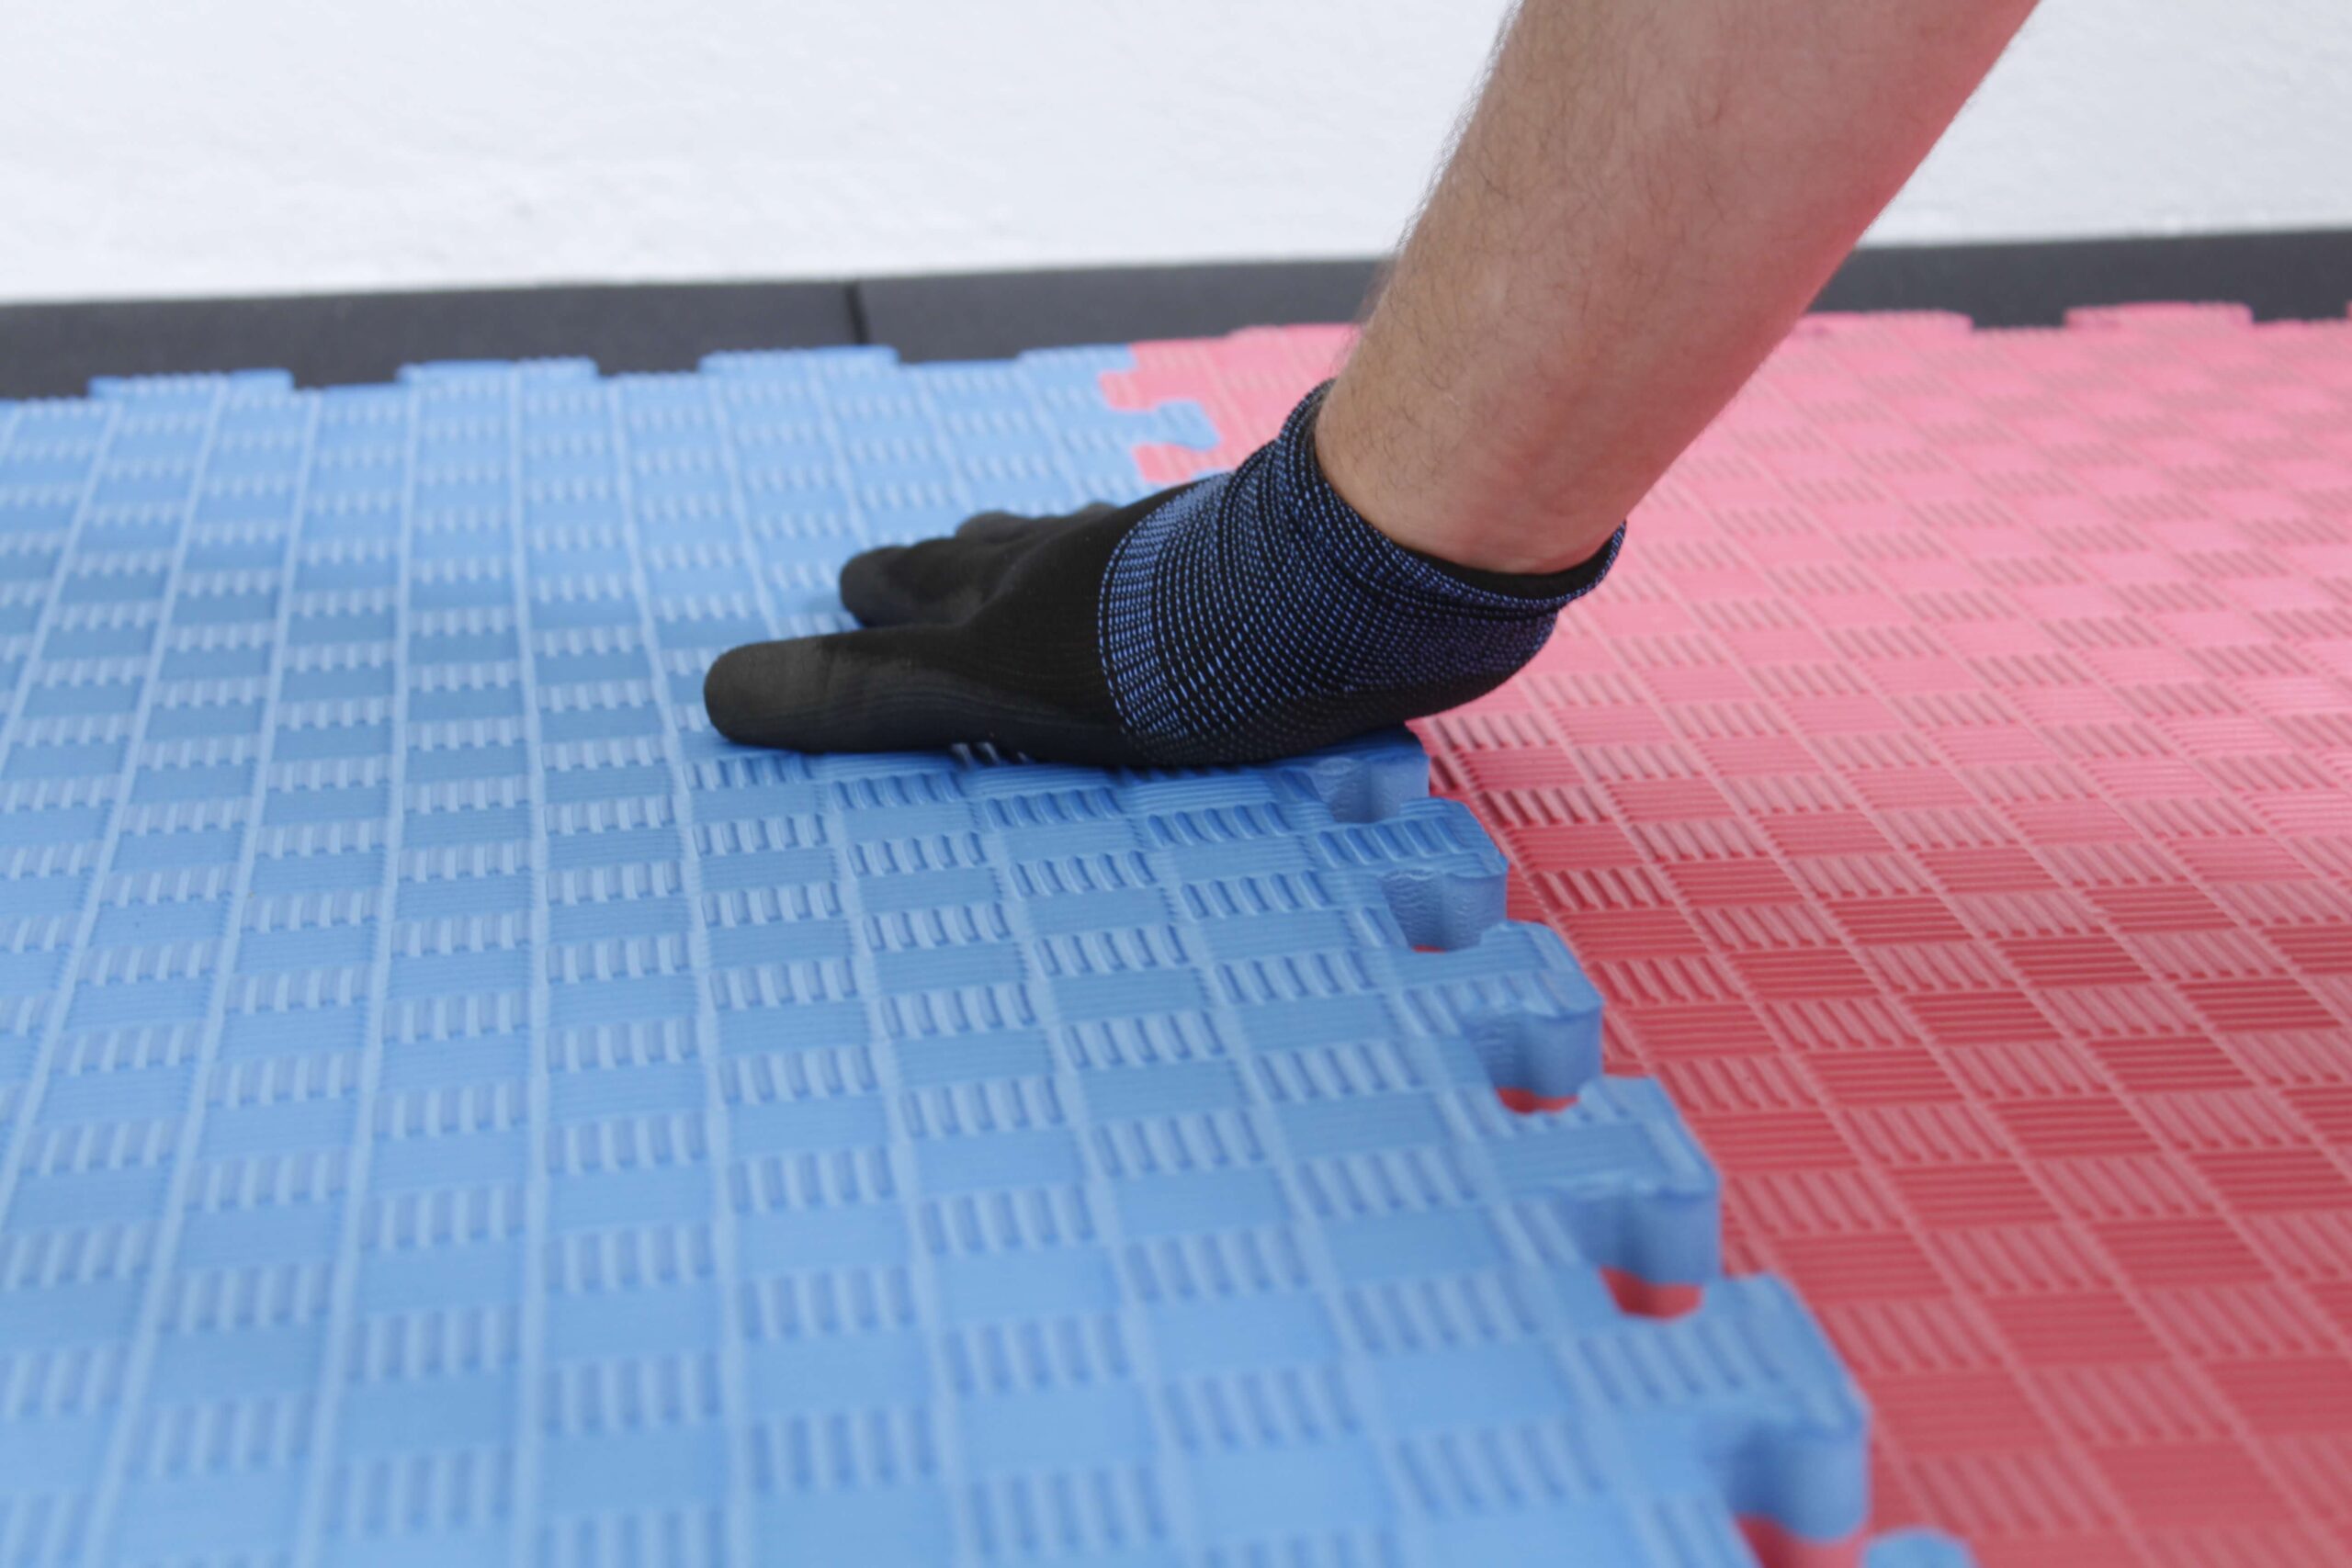
When installing, you can create different patterns and areas using both sides of the tatami, as they are different colours.
2. TATAMI MAINTENANCE
Flooring maintenance and cleaning are essential to ensure a longer life.
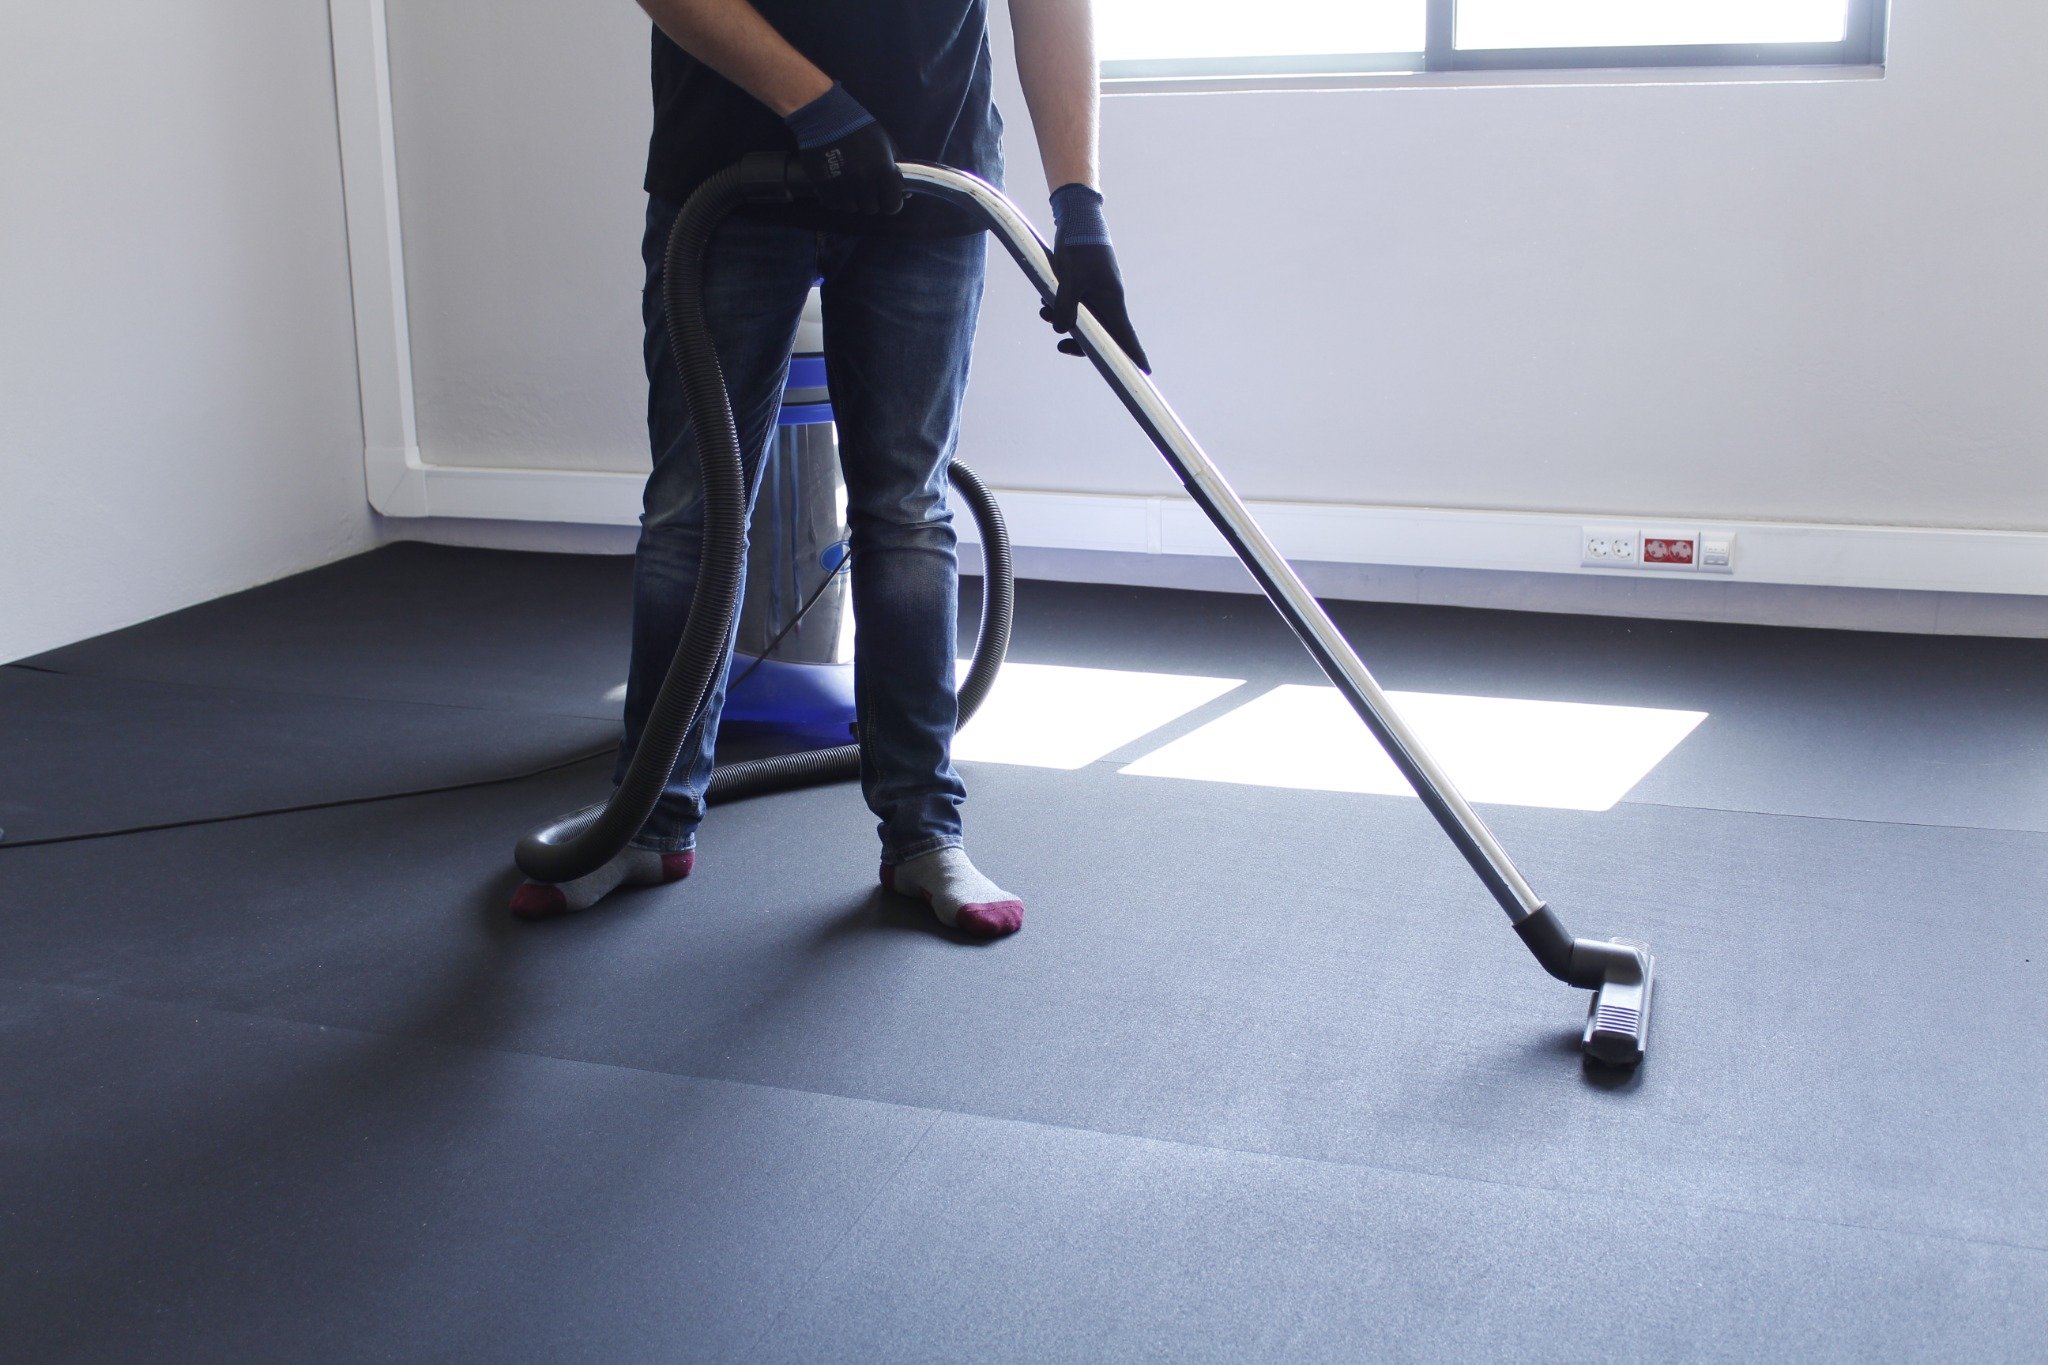
Use a vacuum cleaner to regularly clean any rubbish from the surface. This prevents wear and tear/damage to the flooring.
For greater hygiene, use a microfibre mop together with pH-neutral detergents, which can be found in any supermarket.
Don’t use sponges, steel wool pads or bleach. These products may scratch and damage your flooring.