Installation and Maintenance Manual for Click Vinyl Flooring
Installation and Maintenance Video
Index:
1. INSTALLATION CLICK VINYL FLOORING
2. MAINTENANCE CLICK VINYL FLOORING
1. INSTALLATION CLICK VINYL FLOORING
MATERIALS REQUIRED
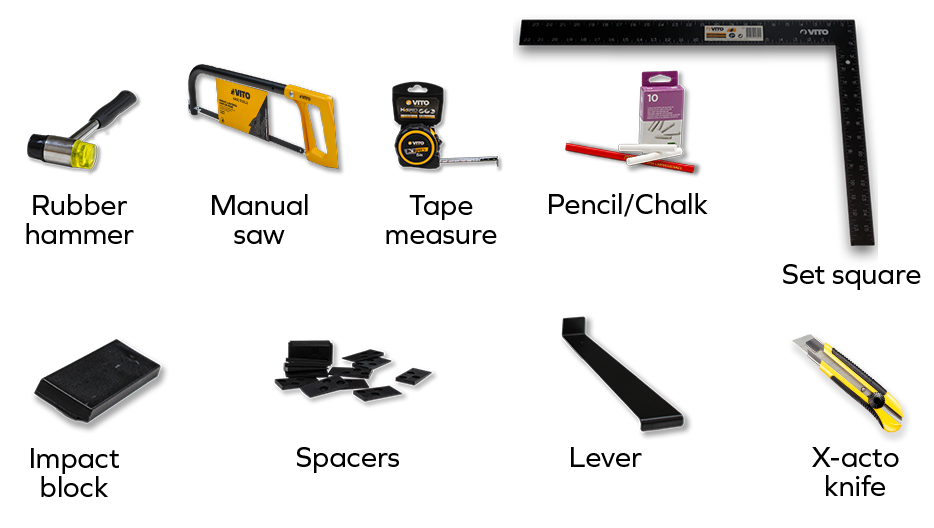
INSTALLATION
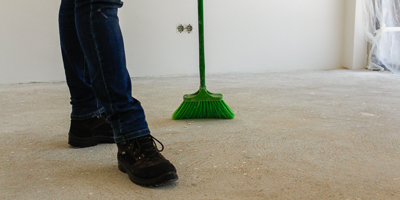
1. Make sure the surface is dry, clean and flat.
2. If you have an underfloor heating system, turn it off before starting the installation. For safety reasons, we recommend that you do not switch it on again.
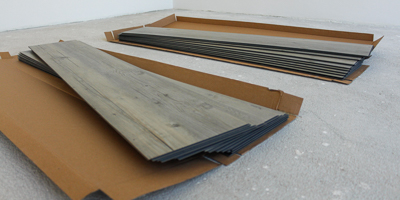
3. Take the vinyl flooring out of the box and leave it to rest for 48 hours at the installation site, to adapt to the room temperature.
4. Keep it horizontal, so as not to damage the boards.
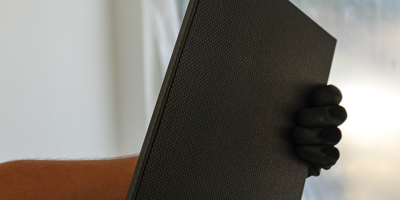
5. Our click vinyl flooring comes with integrated insulation. Therefore, you can apply it directly on the floor.
6. Before starting, measure the area where you want to install the floor carefully. Plan the installation to prevent material waste or finishing the rows with small strips of flooring.
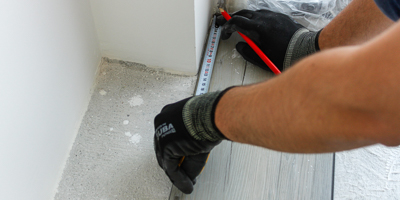
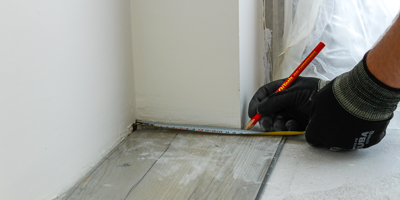
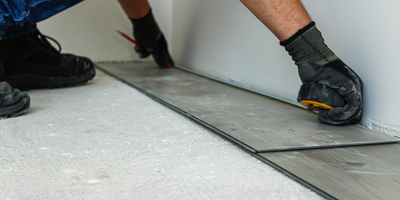
7. Place the spacers on all the walls and columns to create a 10mm dilatation joint.
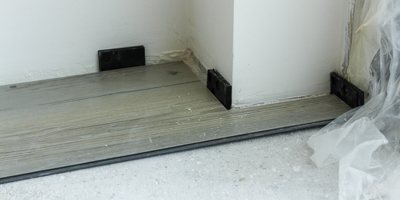
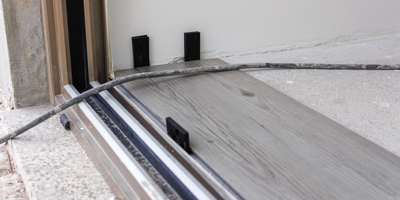
8. Start at the corner of the room. Place the plank with the groove joint facing the wall.

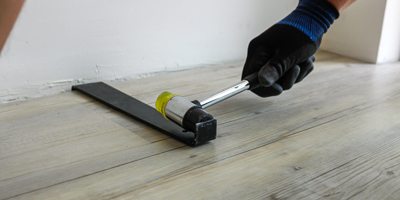
9. Click the next planks in place, sticking to an angle of between 20º and 40º. Use the impact block and rubber hammer to make sure they are properly clicked together. Gently set down until the angle (0º) is cancelled without forcing the fittings
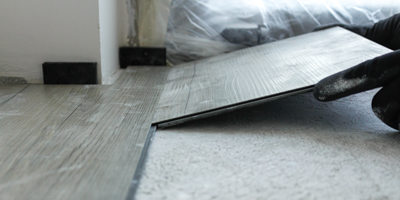
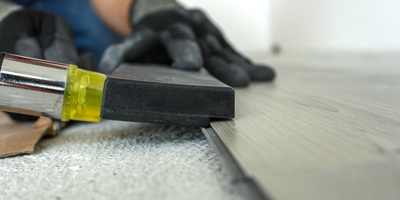
10. Cut the last plank to fit the remaining space, always keeping the spacer on the wall. This step should be repeated for all the rows.
11. In the second row, with the x-acto knife, cut the first plank so the installation is interspersed. We suggest you cut it in half or 1/3. Repeat this step in all the even rows.
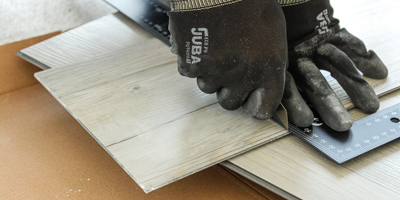
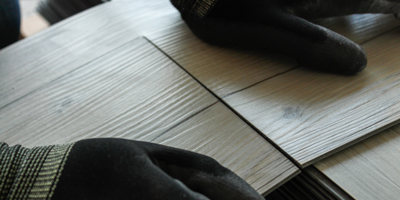
12. From the second row onwards, the plank has to fit simultaneously with the previous and current row. Follow this step for the remaining rows, until the entire area is floored.
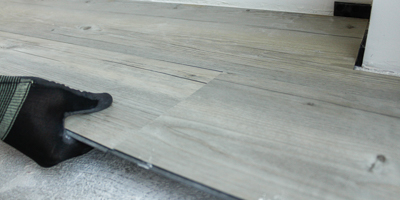
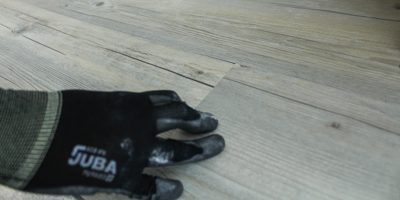
13. In the last row, use the lever to make it easier to fit the planks. After installing the whole floor, it is time to take out the spacers and insert the profiles and skirting boards.
.
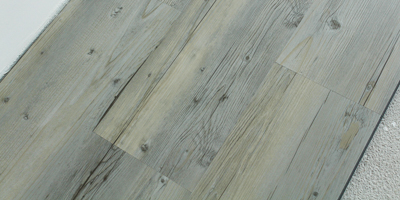
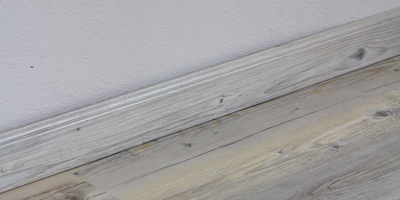
PROFILES AND SKIRTING BOARD
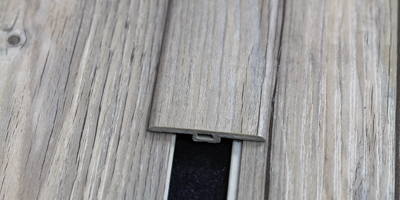
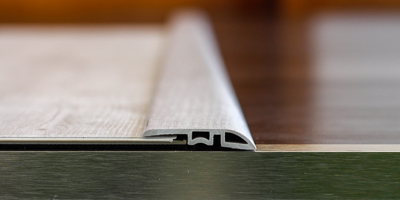
When installing the vinyl floor, whenever you move from one room to another, leave a 10mm-margin to position the expansion profile.
With the tape measure, measure the length of the space where you have to install the suitable profile (transition, level changer, step or skirting board profile).
If the profile is too long, cut it using the manual saw. Afterwards, put glue and sealant on the back of the profile and put it in position.
Finally, press the profile down to guarantee that it is firmly fixed.
Note: You should use an expansion profile whenever the area of the room is more than 10x10m, to provide more stability and security to your flooring.
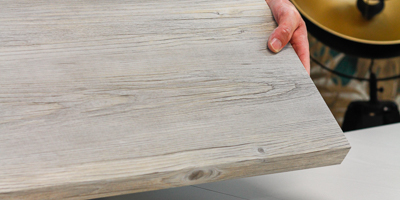
HOW DO YOU REMOVE A DAMAGED PLANK?
To remove a vinyl floating floor plank, you have to cut it. To put in the new plank, you have to cut the tongue and groove joints. Afterwards, simply fit in the groove first, then with glue and sealant, glue the rest of the lateral planks.
2. MAINTENANCE CLICK VINYL FLOORING
It is essential to maintain and clean click vinyl flooring to ensure its durability.
With a broom or vacuum cleaner, clean the dirt that may accumulate on the surface. This will prevent wear and tear or damage of your floor.
For greater cleanliness, you can use a sponge and neutral pH detergents, which are available at any supermarket.
Do not use sponges, wire wool scrubbers or bleach. These products will scratch and damage your floor.